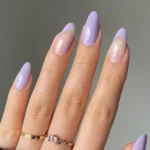
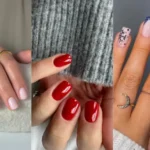
Beginner’s Guide to Doing Gel Nails at Home
If you’ve ever admired those glossy, long-lasting gel nails at the salon and wondered, “Can I really do this at home?”—the answer is yes. Absolutely yes. With the right tools, a little practice, and a step-by-step routine, you can create gorgeous gel manicures that last up to two weeks without chips or dullness. Not only does it save money, but it also gives you the freedom to switch up your nail look anytime you want.
This beginner-friendly guide will walk you through everything you need to know—from prepping your nails to curing your polish—so you can start doing salon-quality gel nails right at home.
What You Need for At-Home Gel Nails
Before you start, gather the essential tools. Having the right products makes the biggest difference in how long your gel manicure lasts.
- UV/LED nail lamp – This cures (hardens) your gel polish.
- Gel base coat
- Gel color polish
- Gel top coat (glossy or matte)
- Nail file & buffer
- Cuticle pusher
- Cuticle remover (optional)
- Lint-free wipes
- Rubbing alcohol or gel cleanser
- Nail clippers
- Nail dehydrator (optional but recommended)
If you buy a beginner’s gel kit, many of these items will already be included.
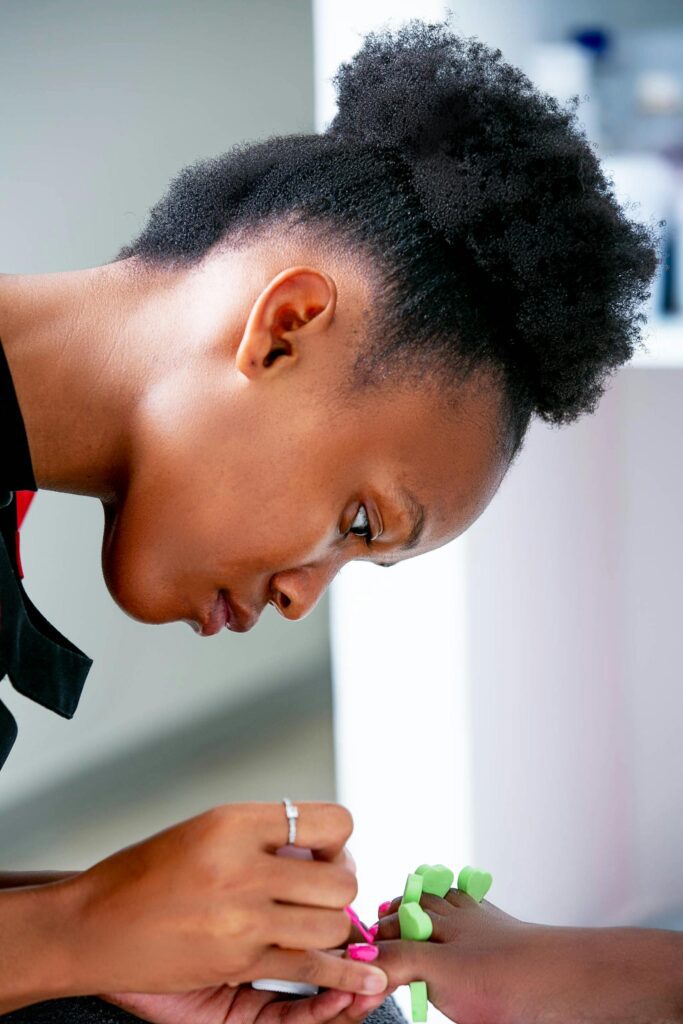
Step-by-Step Guide: How to Do Gel Nails at Home
1. Prep Your Nails
Proper prep is what makes your gel manicure last. This step is more important than the polish itself.
- Remove any old nail polish completely.
- Push back your cuticles gently using a cuticle pusher.
- Trim and file your nails into your desired shape.
- Lightly buff the nail surface until it’s matte—not shiny.
- Dust off the nails using a brush or dry wipe.
- Clean your nails with rubbing alcohol to remove oils and debris.
Tip: Avoid soaking your nails in water before starting. Wet nails expand and shrink as they dry, leading to early chipping.
2. Apply Nail Dehydrator (Optional)
This step removes any remaining oils and helps the gel adhere better. If you struggle with peeling or lifting, a dehydrator can be a game changer.
3. Apply a Thin Base Coat
Use a very thin layer—gel layers should always be thin to avoid bubbling and lifting.
Cure the base coat under your UV/LED lamp. Depending on your lamp’s instructions, this usually takes between 30–60 seconds.
4. Apply Your Gel Color
Now for the fun part! Apply your gel polish in thin, even layers. It’s better to do 2–3 thin coats than one thick coat.
- Paint one layer of color polish.
- Cure under the lamp.
- Repeat until you reach your desired opacity.
Tip: If polish gets on your skin or cuticles, clean it before curing. Once cured, it won’t come off easily.
5. Seal with a Top Coat
Apply a thin layer of top coat to seal everything in and give your nails a glossy or matte finish. Cap the free edge (the tip of the nail) to prevent chipping.
Cure again under your lamp for the recommended time.
6. Cleanse the Nails
Some gel top coats leave a sticky layer after curing. Use a lint-free wipe and a bit of rubbing alcohol to remove this tacky residue.
And that’s it—your gel manicure is complete!
How Long Do At-Home Gel Nails Last?
With proper prep and thin layers, your gel nails can last 10–14 days. If they tend to lift early, focus on:
- Keeping layers thin
- Removing oils from the nail surface
- Not touching your hair or skin during the process
- Sealing the free edge properly
Common Mistakes Beginners Make (and How to Avoid Them)
- Using polish that’s too thick: Thick gel doesn’t cure well and leads to peeling.
- Skipping nail prep: Gel won’t stick to oily or shiny nails.
- Flooding the cuticle: This causes lifting at the base of the nail.
- Not curing long enough: Under-cured gel stays soft and wears off faster.
- Touching your face or hair while doing nails: Oils transfer and ruin the adhesion.
Tips for Longer-Lasting Gel Nails
- Always wash and dry your hands before you start.
- Use thin layers for every coat.
- Cap the tip of the nail with each layer.
- Apply cuticle oil daily to keep your nails flexible and healthy.
- Wear gloves when cleaning or washing dishes.
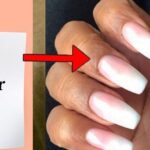
How to Remove Gel Nails Safely
Never peel or rip off your gel polish—it removes layers of your natural nail and causes long-term damage.
Here’s the safe removal method:
- File the shiny top layer off each nail.
- Soak cotton balls in acetone.
- Place soaked cotton on each nail and wrap with foil.
- Let it sit for 10–15 minutes.
- Gently push off softened gel with a cuticle tool.
- Lightly buff and moisturize your nails.
Your nails should feel smooth and healthy afterward—never rough or damaged.
Final Thoughts
Doing gel nails at home is easier than it looks, and with a few basic tools, you can create long-lasting, salon-quality manicures anytime you want. Whether you prefer simple nudes, bold brights, or trendy nail designs, mastering the basics opens up endless possibilities for your nail routine.
With the steps above and a little practice, you’ll be able to create glossy, chip-resistant gel nails that make you feel polished and put-together every day.
If you want, I can also write:
- A Pinterest-friendly introduction for your WordPress excerpt
- 10 pin titles + descriptions for this post
- Internal linking suggestions for ChicNStylish.com