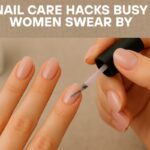
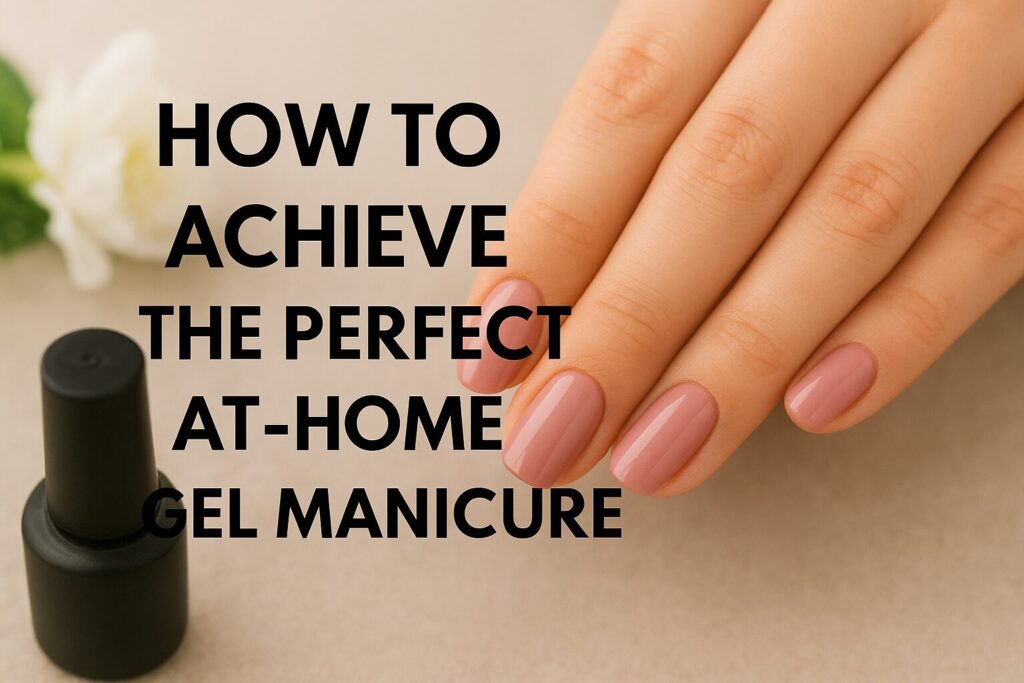
How to Achieve the Perfect At-Home Gel Manicure
If you love the look of salon-perfect nails but don’t always have the time or budget to visit a nail salon, an at-home gel manicure can be your ultimate solution.
Gel nails are durable, glossy, and can last up to two weeks without chipping, making them perfect for busy women who want nails that stay flawless.
The best part? With a few tools and some patience, you can achieve a professional-looking gel manicure right from the comfort of your home. Here’s your step-by-step guide to getting the perfect at-home gel nails.
Step 1: Gather Your Supplies
Before you start, it’s important to have the right tools. You’ll need:
- Gel base coat
- Gel color polish of your choice
- Gel top coat
- LED or UV nail lamp
- Nail file and buffer
- Cuticle pusher and cuticle remover
- Lint-free wipes
- Rubbing alcohol or gel cleanser
Having everything ready before you begin will make your manicure smooth and stress-free.
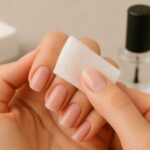
Step 2: Prep Your Nails
The key to a long-lasting gel manicure is proper nail prep. Start by removing any old polish and gently pushing back your cuticles.
Then, shape your nails using a file and lightly buff the surface of each nail. Buffing removes natural oils and creates a slightly rough texture that helps the gel adhere better.
Finish by cleaning your nails with rubbing alcohol or a gel cleanser to remove any dust or residue.
Step 3: Apply the Base Coat
The base coat is essential for protecting your natural nails and ensuring your gel polish sticks. Apply a thin, even layer and be careful not to touch the cuticles.
Cure the base coat under your LED or UV lamp according to the product instructions, usually for 30–60 seconds with an LED lamp or 2 minutes with a UV lamp.
Step 4: Apply the Gel Color
Now for the fun part—color! Apply your first thin layer of gel polish, making sure to cover the nail evenly. Avoid the cuticles to prevent lifting.
Cure the nails under the lamp again. For full opacity, apply a second thin layer of gel polish and cure once more. Remember, thin layers are better than thick ones; thick layers can lead to uneven curing and a wrinkled finish.
Step 5: Apply the Top Coat
The top coat seals in your color and gives your nails that signature gel shine. Apply a thin, even layer over the entire nail surface, then cure under the lamp.
Some top coats require wiping off a sticky layer afterward with a lint-free wipe and gel cleanser—check your product instructions to be sure.
Step 6: Finishing Touches
Once your gel manicure is fully cured, apply cuticle oil to nourish your nails and keep them looking healthy.
This also adds a polished, professional touch to your finished manicure. Avoid heavy hand creams immediately after application, as oils and lotions can reduce the longevity of your gel polish.
Tips for a Long-Lasting Gel Manicure
- Avoid thick layers – Thin layers cure more evenly and prevent wrinkling.
- Cap the edges – Brush polish across the free edge of your nail to seal it and reduce chipping.
- Don’t skip prep – Clean, dry, and buffed nails make all the difference.
- Moisturize cuticles – Healthy cuticles help your manicure last longer.
- Protect your nails – Wear gloves when doing chores to prevent premature wear.
Final Thoughts
Achieving the perfect at-home gel manicure isn’t just about following steps—it’s about taking your time, practicing, and enjoying the process.
Once you get the hang of it, you’ll save money, have the freedom to change colors whenever you want, and enjoy nails that look just as good as a salon manicure.
With the right tools, proper prep, and a little patience, your at-home gel nails can be glossy, strong, and undeniably chic.