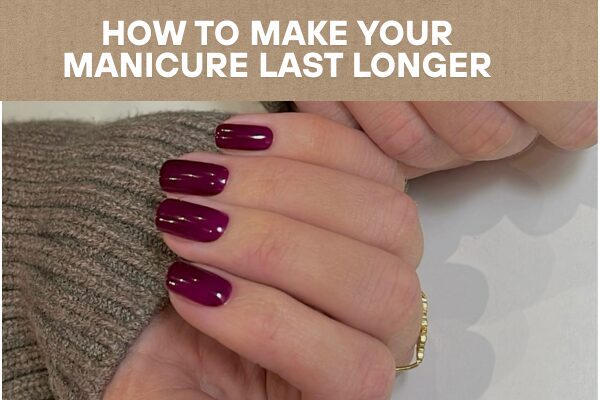
How to Make Your Manicure Last Longer
A fresh manicure can instantly elevate your look, but there’s nothing more frustrating than seeing chips, cracks, or fading just a few days after your nails are done.
Whether you prefer gel, acrylic, or regular polish, there are simple, effective ways to extend the life of your manicure at home.
With the right techniques and a bit of care, you can enjoy beautiful, salon-quality nails that last longer and stay flawless. Here’s your ultimate guide to making your manicure last.
Step 1: Start with Clean, Dry Nails
The foundation of a long-lasting manicure is clean, oil-free nails. Before applying polish, make sure your nails are free from old polish, lotion, or oil.
Use a gentle nail polish remover to clean the surface thoroughly. Any residue left on your nails can prevent polish from adhering properly, which leads to premature chipping.
Step 2: Proper Nail Preparation
Taking time to prep your nails makes a huge difference:
- Shape your nails – File and shape your nails before polishing. Rounded or almond-shaped edges tend to chip less than sharp, square edges.
- Buff lightly – Lightly buff the nail surface to create a smooth, even canvas. Avoid over-buffing, as this can thin your nails.
- Push back cuticles – Gently push back your cuticles with a cuticle pusher. This prevents polish from lifting around the edges.
Step 3: Use a Base Coat
A base coat is a lifesaver for long-lasting manicures. It not only protects your nails from staining but also gives your polish something to cling to.
Apply a thin, even layer of base coat and let it dry completely before adding color. For gel manicures, cure under a UV or LED lamp according to the product instructions.
Step 4: Apply Thin, Even Layers of Color
When it comes to polish, less is more. Apply thin layers of color instead of one thick layer, allowing each layer to dry before adding the next.
Thick coats are more likely to peel, chip, or smudge. For gel polish, cure each layer under a lamp to ensure proper adhesion.
Step 5: Seal the Edges
One of the secrets professional manicurists use is capping the free edge. This means brushing polish over the tip of your nail to seal the edge.
Sealing the edges creates a protective barrier that helps prevent chipping from daily activities like typing, washing dishes, or handling objects.
Step 6: Finish with a Top Coat
A high-quality top coat adds shine and forms a protective layer that locks in your color. For regular polish, reapply a thin layer every 2–3 days to maintain shine and strength.
For gel manicures, ensure the top coat is properly cured under your lamp, and remember to wipe off any sticky residue with a lint-free pad and gel cleanser.
Step 7: Maintain Your Manicure
Even after your nails are done, proper care is essential:
- Moisturize cuticles – Healthy, hydrated cuticles prevent peeling and cracking.
- Wear gloves for chores – Protect your nails from harsh chemicals and water when washing dishes or cleaning.
- Avoid using nails as tools – Opening packages or scratching surfaces can chip your polish.
- Be gentle with hands – Frequent tapping or heavy use of nails can weaken polish adherence.
Extra Tips for Longer-Lasting Nails
- Avoid hot water immediately after a manicure; it can cause polish to lift.
- Use nail strengtheners if your nails are naturally weak or brittle.
- Choose long-wear or gel formulas if you want a manicure that lasts beyond a week.
- Keep nails short to medium length; longer nails are more prone to breaking and chipping.
Final Thoughts
A long-lasting manicure isn’t just about luck—it’s about preparation, technique, and a little TLC. By following these simple steps, you can enjoy beautiful, chip-free nails for days or even weeks.
Whether you’re rocking a classic red polish, trendy pastel, or bold gel nails, these tips will help you maintain that fresh, polished look every day.
With proper care, your nails can look just as stunning at the end of the week as they did the day you painted them.