How to Properly Prep Nails for Polish Longevity
A beautiful manicure can instantly elevate your style, but nothing is more frustrating than watching freshly painted nails chip or peel within days.
The secret to a long-lasting, flawless manicure isn’t just the polish—it’s proper nail prep. Preparing your nails correctly creates a strong foundation, ensures polish adheres well, and keeps your nails healthy. Here’s your step-by-step guide to prepping nails for polish longevity.
Step 1: Remove Old Polish Completely
Before starting any manicure, make sure your nails are free from previous polish, residue, or oils. Use a gentle, acetone-free nail polish remover to clean each nail thoroughly. Removing all traces of old polish ensures the new color sticks evenly and prevents bubbling or peeling.
Step 2: Trim and Shape Nails
Start by trimming nails to your desired length. Then, shape them using a fine-grit nail file. Popular long-lasting shapes include rounded, almond, or squoval (square with rounded edges), which are less prone to breakage than sharp square tips.
Always file in one direction, as sawing back and forth can cause splitting and weaken nails.
Step 3: Buff the Nail Surface
Buffing your nails lightly creates a smooth, even surface for polish application. Use a gentle buffer to remove ridges and imperfections, but avoid over-buffing, as it can thin nails and make them fragile. A slightly matte finish after buffing helps polish adhere better.
Step 4: Push Back and Care for Cuticles
Healthy cuticles prevent polish from lifting at the edges. Gently push back cuticles using a cuticle pusher and remove any excess skin if needed.
Avoid cutting cuticles too aggressively, as this can cause irritation or infection. Applying a small amount of cuticle oil during prep helps nourish and protect the nail bed.
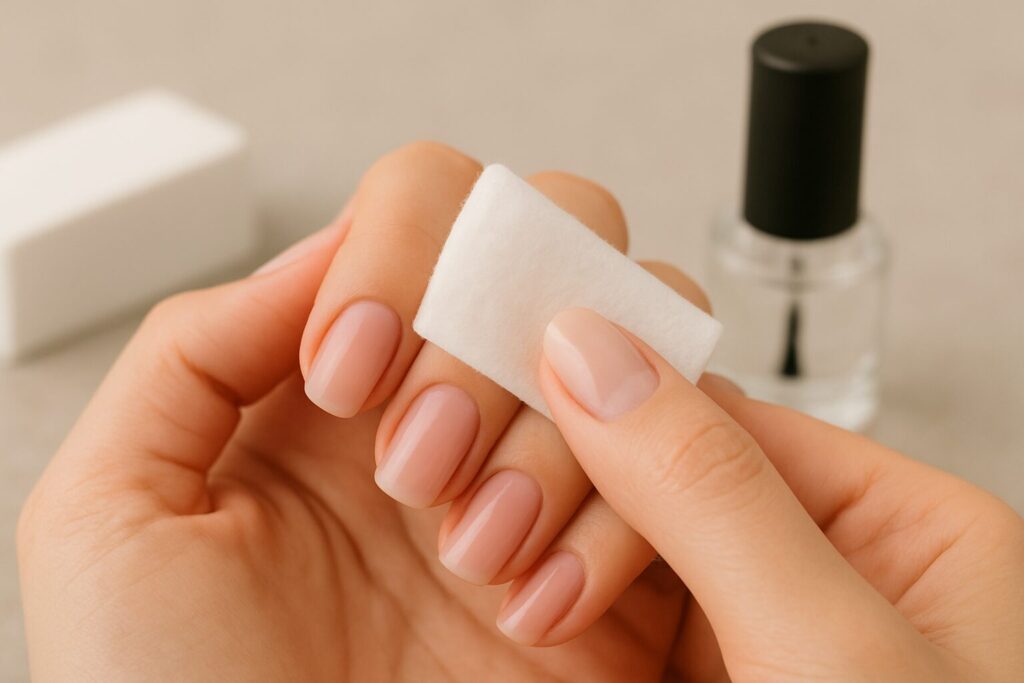
Step 5: Clean Nails Thoroughly
After trimming, filing, and buffing, wash your hands and nails with mild soap and warm water.
Dry completely and wipe each nail with a lint-free pad soaked in rubbing alcohol or nail cleanser. This step removes oils and dust, ensuring the polish adheres perfectly.
Step 6: Apply a Base Coat
A base coat is essential for longevity. It acts as a protective barrier between your nails and the colored polish, preventing staining and helping the color stick better.
Apply a thin, even layer and let it dry completely (or cure under a UV/LED lamp if using gel polish). A good base coat makes a significant difference in preventing chipping and prolonging your manicure.
Step 7: Maintain Nail Health Between Manicures
Proper prep isn’t just about the day of your manicure—it’s also about overall nail care. Keep nails healthy with these habits:
- Moisturize nails and cuticles daily with oil or cream
- Wear gloves while washing dishes or cleaning
- Avoid using nails as tools to open packages or scratch surfaces
- Take breaks from gel or acrylic treatments to let nails breathe
Healthy nails are stronger and hold polish better, ensuring your manicure lasts longer.
Final Thoughts
Long-lasting, chip-free nails start long before the first swipe of polish.
By properly prepping nails—removing old polish, trimming and shaping, buffing, caring for cuticles, cleaning thoroughly, and applying a base coat—you can dramatically improve polish longevity.
With consistent nail care and attention to prep, your nails will look flawless, polished, and salon-quality, even from the comfort of home.
Proper preparation isn’t just about beauty—it’s about creating a foundation for strong, healthy nails that shine and impress every day.