Say Goodbye to Acrylics: How to Safely Remove Acrylic Nails at Home
We all love the flawless look of acrylic nails — they’re strong, glossy, and make your hands instantly feel more polished. But when it’s time to take them off, the salon isn’t always convenient. Maybe your schedule is packed, or you just want to save the trip (and the money). The good news? You can remove acrylic nails right at home without wrecking your natural nails.
This guide will walk you through the safest, most effective methods — including both acetone and non-acetone options — plus a few aftercare tips that will leave your nails healthy and ready for their next look.
Why Not Just Rip Them Off?
It’s tempting to peel or tug when your acrylics start lifting, but doing so can actually remove layers of your natural nail. That’s what leads to paper-thin, sore nails that take months to heal. A little patience and the right method will give you better results (and healthier nails in the long run).
Method 1: The Classic Acetone Soak
This is the tried-and-true method most salons use, and you can easily recreate it at home.
What you’ll need:
- Pure acetone
- Cotton balls
- Aluminum foil
- Nail file or buffer
- Cuticle oil
Steps:
- File off the top shiny layer of your acrylics.
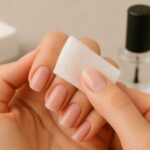
- Soak cotton balls in acetone and place one on each nail.
- Wrap each fingertip in aluminum foil.
- Leave on for 20–30 minutes.
- Gently remove the foil and push off the softened acrylic with an orange stick.
- Buff lightly and moisturize.
Pro tip: Warm your acetone slightly by placing the bottle in a bowl of hot water for a few minutes before soaking — it helps speed up the breakdown.
Method 2: The Warm Water & Oil Soak (Acetone-Free)
If you’d rather avoid acetone, this method is gentler but takes more time.
What you’ll need:
- A bowl of warm water
- A few drops of dish soap
- Olive oil or cuticle oil
Steps:
- Mix warm water, a dash of soap, and oil in a bowl.
- Soak your hands for 30–40 minutes.
- Once the acrylic softens, use a cuticle pusher to gently lift it.
- Repeat if necessary, then buff away residue.
Patience is key with this method — you may need to repeat the soak for stubborn acrylics.
Method 3: The Dental Floss Trick
Yes, you read that right. Dental floss can help lift acrylic nails, but it works best if your acrylics are already starting to lift at the edges.
Steps:
- Slide a thin, flat tool (like a cuticle stick) gently under the edge of the acrylic.
- Take dental floss and carefully work it back and forth under the acrylic.
- Slowly move along the nail until the acrylic comes free.
Note: Be extra careful with this method — it’s faster, but can be risky if the acrylic isn’t already loosened.
Aftercare: Don’t Skip This Step
Once your acrylics are off, your natural nails will need a little love.
- Moisturize: Massage cuticle oil into nails daily.
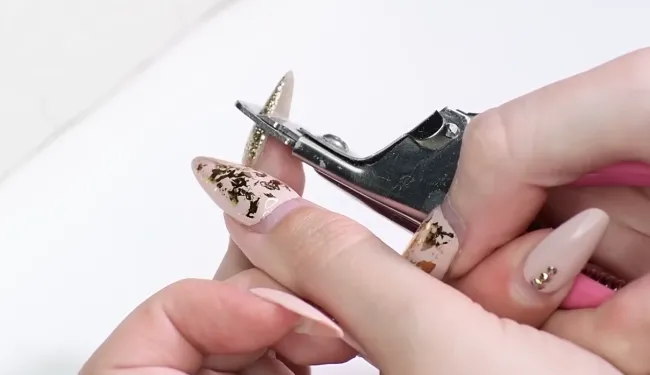
- Trim & file: Shape your natural nails to prevent splitting.
- Strengthen: Apply a nail strengthener or keratin treatment.
- Rest: Give your nails a week or two before applying new acrylics.
Mistakes to Avoid
- Pulling or ripping: This will damage your nail bed.
- Using sharp tools: They can scrape too deeply and cause pain.
- Skipping hydration: Your nails will feel brittle without moisture.
Final Thoughts
You don’t need a salon visit to say goodbye to acrylics. Whether you go with the acetone soak, a gentle warm water method, or even the dental floss trick, the key is patience and care. With the right aftercare, your natural nails can bounce back beautifully and be ready for your next set — or even a fresh polish that shows off your natural nail glow.